
Winter brings busy bookings and dry cuticles. You need a workflow that runs clean and fast. Color coded tool tracking helps. It uses visible packaging cues to reduce mistakes, cut handling time, and extend tool life.
Product identity
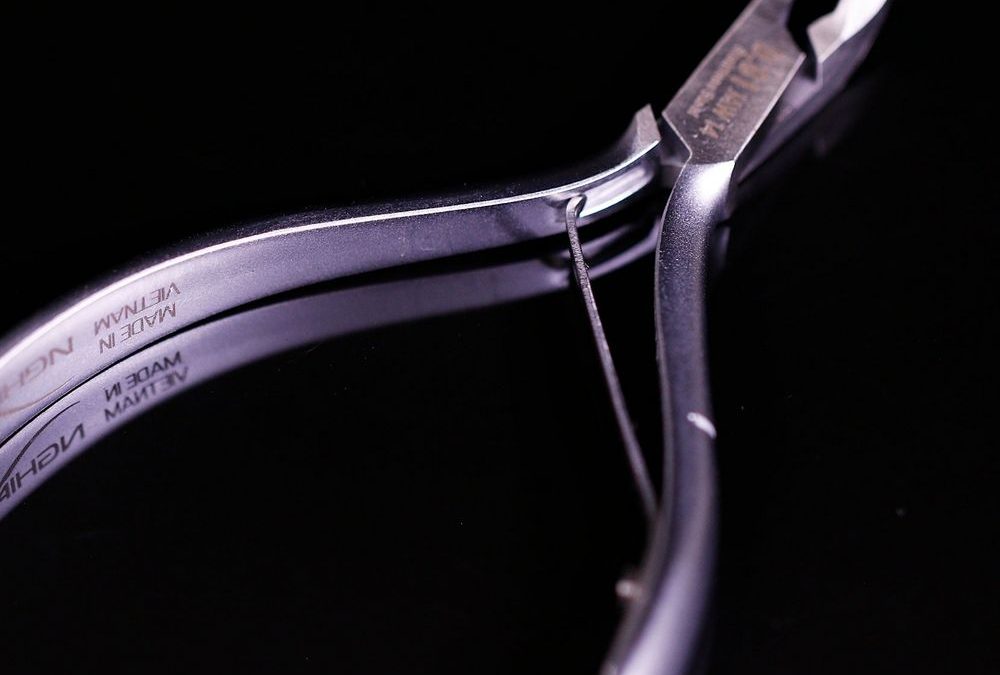
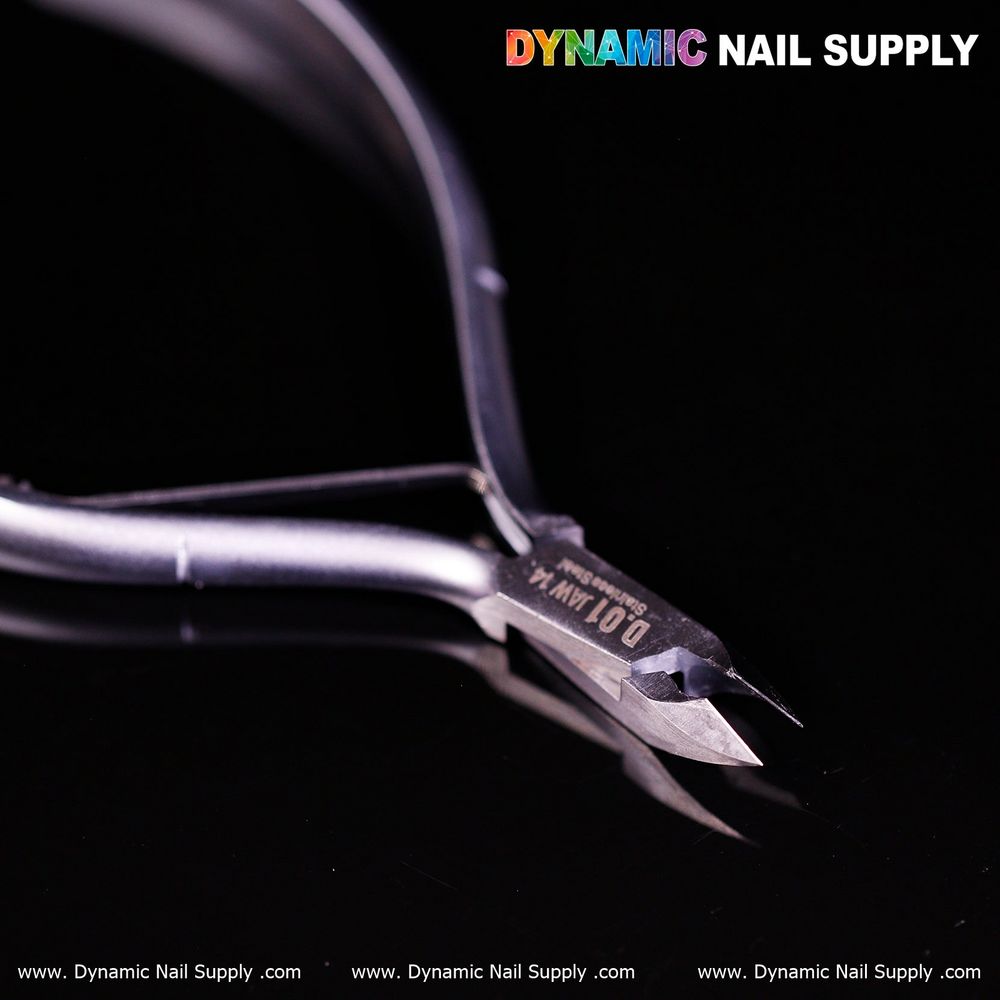
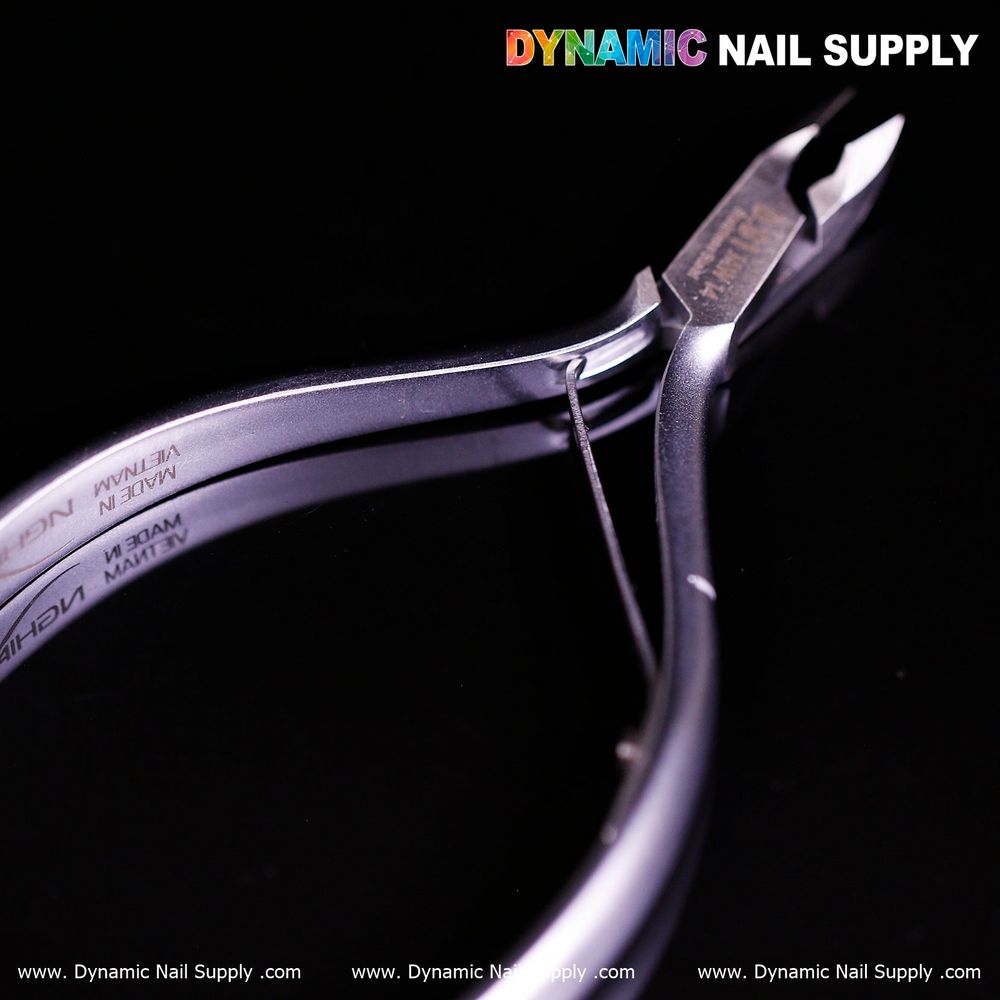
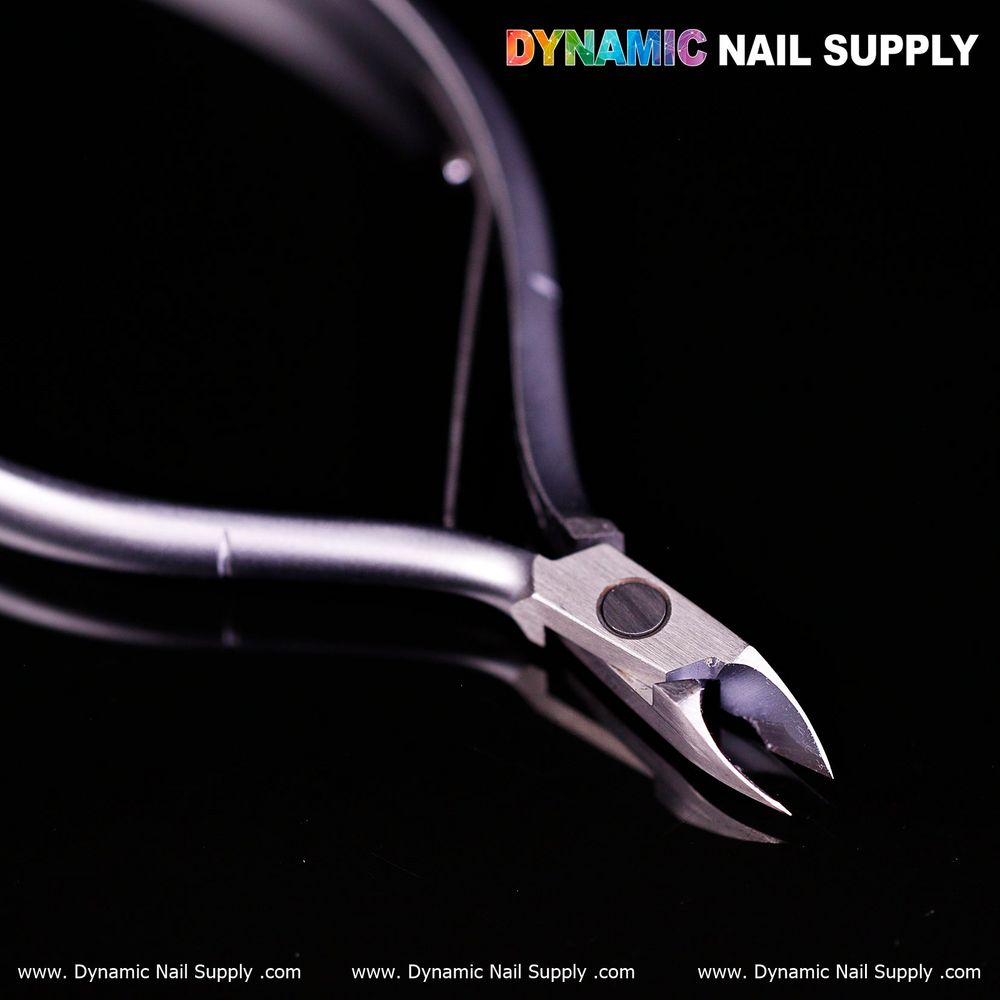
The D01 – Jaw 14 design is a polished stainless-steel cuticle nipper with a neon-green front panel on its packaging, a dark-green border, and a deep-blue tab. The chrome finish reads clinical. The stamped model mark is clear. These visual elements make the tool easy to spot on a crowded station.
Why color matters
Color is immediate. You don’t read a label. You glance. That saves seconds per client. Seconds add up. Visible cues cut unnecessary handling. They reduce cross-contamination risk by keeping used and sterilized tools apart. They also stop you from grabbing the wrong jaw size in a rush.
Track sterilization
Assign colors to sterilization stages. Use the neon-green front panel for “ready to use.” Mark dark-green for “to be sterilized.” Reserve the deep-blue tab for “in quarantine or repair.” Keep those rules consistent across stations and mobile kits.
Practical steps:
- Set three color bins or trays: neon-green, dark-green, deep-blue.
- After use, drop the D01 Jaw 14 in the dark-green tray.
- Once sterilized and dried, move it to the neon-green tray.
- If you spot any damage or edge issues, place it in the deep-blue zone.
Inventory rotation
Color cues help you rotate stock without logging every item. Pair packaging color with simple time rules. For example, tools in neon-green are active. Tools in dark-green are pending sterilization. Rotate so you use older sterilized sets first. This reduces unnecessary cycles and preserves the nipper’s edge.
Single-station assignment
Give each station a consistent accent color tied to the D01 Jaw 14’s packaging. A neon-green marker on a station means that nippers kept there are for that chair only. That keeps tools from being moved around. It limits wear from repeated autoclave cycles. It also reduces misplacement.
Numbered checklist
- Label trays: neon-green = ready, dark-green = used, deep-blue = inspect.
- Assign one D01 Jaw 14 per station when possible.
- After service, place tool in dark-green tray immediately.
- Sterilize according to your protocol; return only when dry.
- Move to neon-green tray; mark the sterilization date on a tally card.
- If the jaw shows burrs or misalignment, drop to deep-blue and retire.
- Audit trays weekly and reorder to maintain steady rotation.
Save time and waste
Color-coded workflows cut double-handling. You avoid unnecessary sterilization cycles on tools that are already clean. You avoid premature throwing out gear because you can’t tell which set was last used. That protects the D01 Jaw 14’s long-lasting sharpness.
Visual cues in mobile setups
Keep the neon-green card facing up in your case. Line the dark-green divider next to it. Use the deep-blue tab as a small flag on a zip pouch for tools under review. These small visual steps keep a one-person kit organized and reduce time spent hunting for the correct jaw size.
Care and safety
Handle the D01 Jaw 14 carefully. The blades are ultra-sharp. Always point the jaw away from skin when you pass a tool. Use proper sterilization methods for metal instruments. Dry tools before storing in neon-green trays. Inspect the jaw edge and joint before each use.
Final steps and link
Make color coding part of your routine. Teach staff a three-color rule. Test it for one week. Adjust the trays and signage as needed. For the tool I recommend in this workflow, see the product listing here:
Mini FAQ
How many colors do I need?
Three colors is enough for most setups: ready, used, inspect.
Will color coding replace labels?
No. Use both. Color speeds decisions. Labels clarify exceptions.
Can I use this with other jaw sizes?
Yes. Keep one color logic across sizes. Mark jaw numbers on trays if needed.